May 15, 2010

photshop - invert

I have to be careful about photoshop and what I say to you as there are already many fabulous people teaching classes about the art of photoshopping. One of these fabulous people is Susan Tuttle who teaches "Visual Poetry" I have been fortunate to take the first round of classes through Visual Poetry. I would highly recommend the classes as well as Susan's latest book.
I can give you just some little tips. As with much in art, you need to practice and play with the techniques. I also know that I am only on the very beginning levels of playing with photoshop. You can often learn lots if you just google the technique you would like to learn or try. Flickr also has a number of groups where you can learn and get prompts.
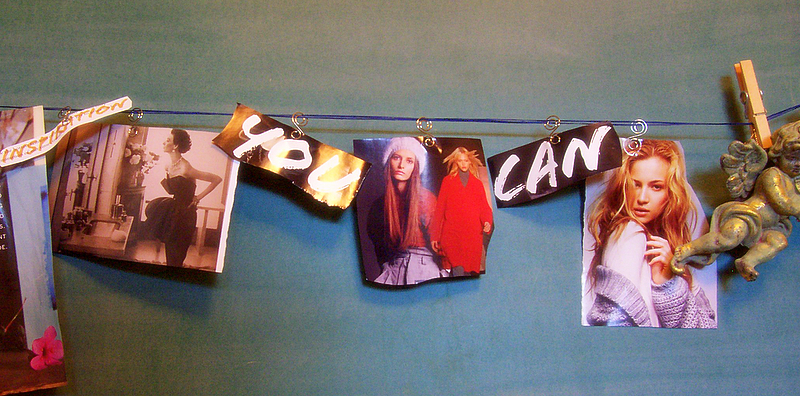
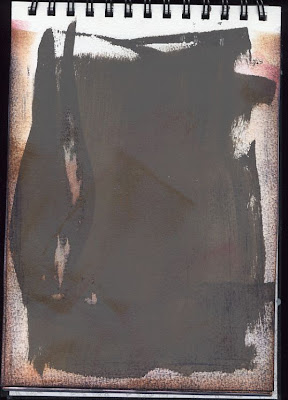
I did have a specific question about the following picture. I can say that the background was basically achieved by going to "filter", then "adjustments", then "invert".This is on Photoshop Elements 8. I was very excited when I found this technique.

I will NOT

And actually now that I think about it, Greg was the one that found it initially when he was first installing my photoshop program. He is not into the art but he is certainly into playing with the technology.

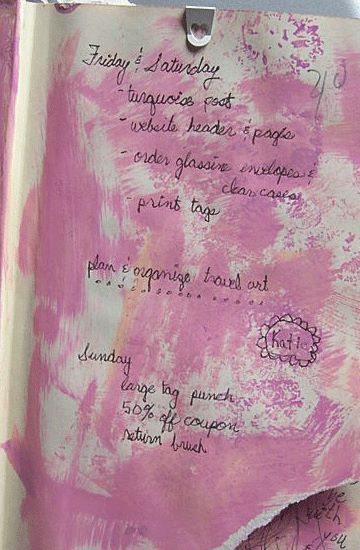
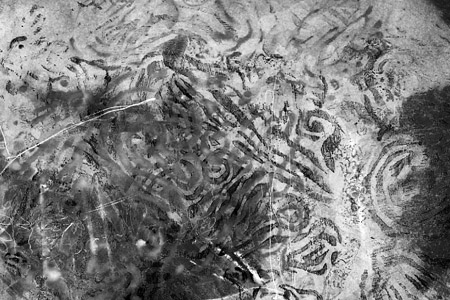
I practiced with the following picture also before posting here. It started as a light purple background with a number of multi-coloured stamps and marks on it. I first desaturated - that is, turned into black and white - and then I increased the contrast quite a lot before I did the invert.

Invert 1

Please remember to ask any further questions. I will try to get back to you here at some future date.

May 7, 2010

clips

Why would I mention clips? I do not really have a great need for that ever popular duct tape. OK, stop the booing. Instead I tend to like to have clips available.
Bull dog clips are not a must have, but I think are very handy to have around. I thought about them because they are handy especially for holding open altered book pages for creating.


They are also great for attaching mini lights to a shelf. Aprons can be hung handily on them.

Smaller decorative clips are great for adding interest to altered pages. Certainly they are necessary for marking places that you want to save in a book or calendar to be easily found or reminded of.

These days one can find such an array of clips. I chose swirly, circular ones for these inspiration board words and pictures:

you can draw

content

Back to duct tape – I do not really care for it myself, but it CAN be useful for a unique touch to a book binding that is falling apart or for use in decorating an altered book page with a suitable feel. I know there are numerous colours available. I know that you will be able to find exactly the right choice to suit your artistic needs.

I also show a UHU glue stick in the first photo. The reason I wanted to include it - the UHU glue stick is great for gluing pages of the book you are altering together so the number of pages is not intimidating. You can decide about the number of pages considering what you want to use the book for specifically. If you want a particular theme you may not want as many pages. Perhaps you want to use it for a notebook, a list book, a journal, or for doing specific techniques. Perhaps you want it to be multi-purpose for whatever you may need at the moment. These are some things to think about for the number of pages in your book.

Clips and a UHU glue stick – important items for you to keep on hand.

May 2, 2010

try to create everyday

If you want to start being more of an artist or even just being more creative you will want to choose to try to create every day. You might just want to do a little doodle on a scrap of paper or even the corner of a phone book page or newspaper. Or maybe you want to splash some gesso on a canvas or watercolour page. You could even buy a whack of card stock and apply gesso on a few of those pages. From there you can spread a bit, or apply lightly perhaps I should say, some acrylic paint of your fave colour. I sometimes like to add just a bit of another complimentary colour and blend lightly with a plastic recycled spoon or stir stick, a palette knife if you have. Apply with a sponge brush,


or a paint brush if you must. My choice for quick, large scale applications is a foam brush. Alisa Burke likes using a wall painting brush, particularly an old one if you have. They are really good for large surfaces. She uses latex wall paint too. I haven't done that much. One time when I was painting the floor in one of my studio spaces, I did this FREQUENT trick of putting out far too much paint. I'd mixed some acrylics with it to vary the colour. So "hey - why don't I just grab a foamy brush and put it on some watercolour book pages."


FABULOUS!

~wistful ~ wandering ~ wishing~

Most importantly ~ have fun.